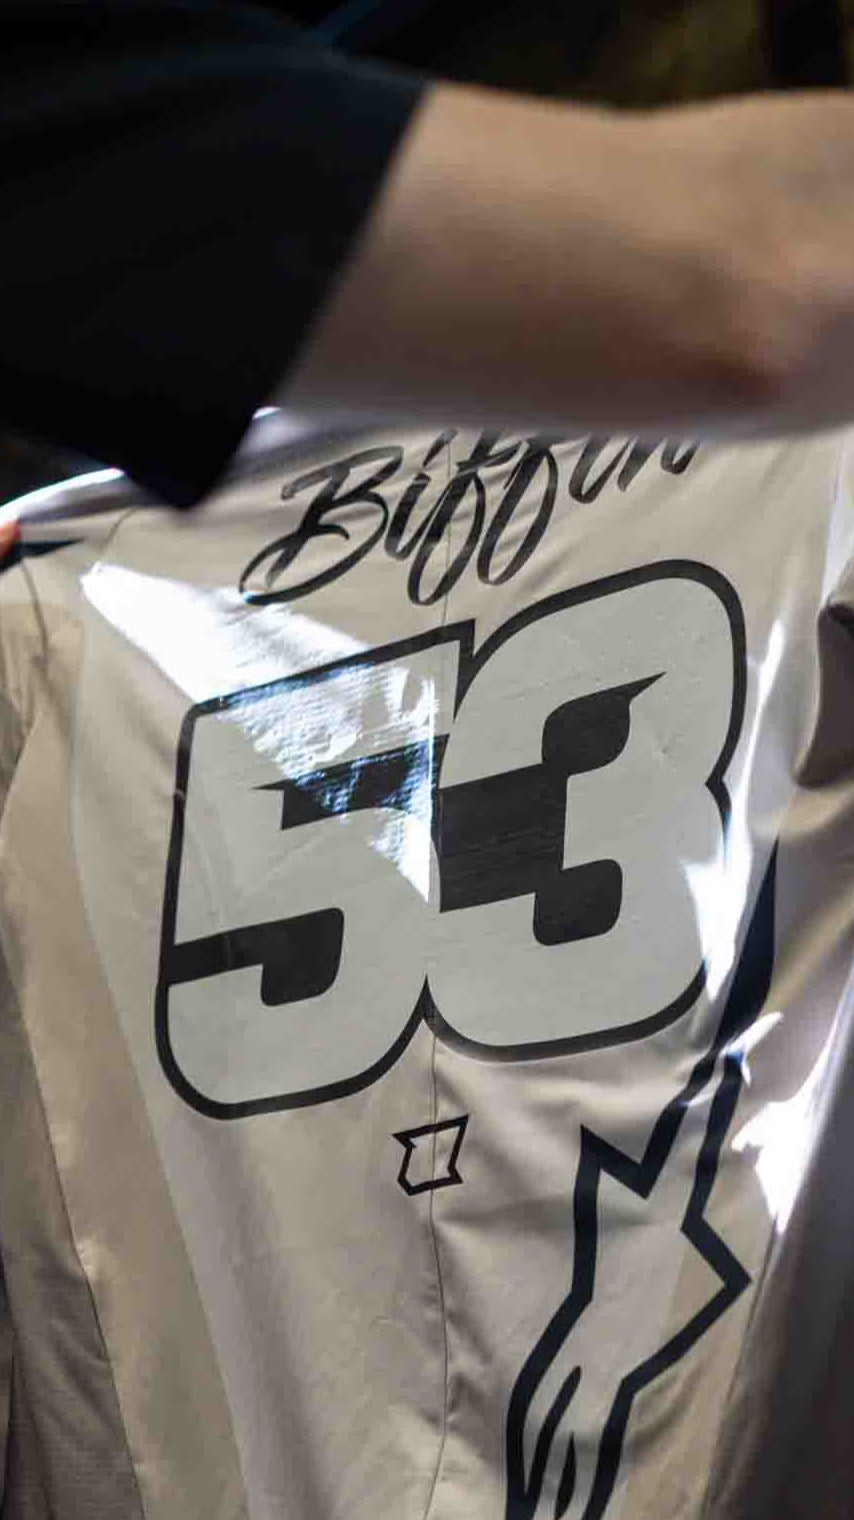
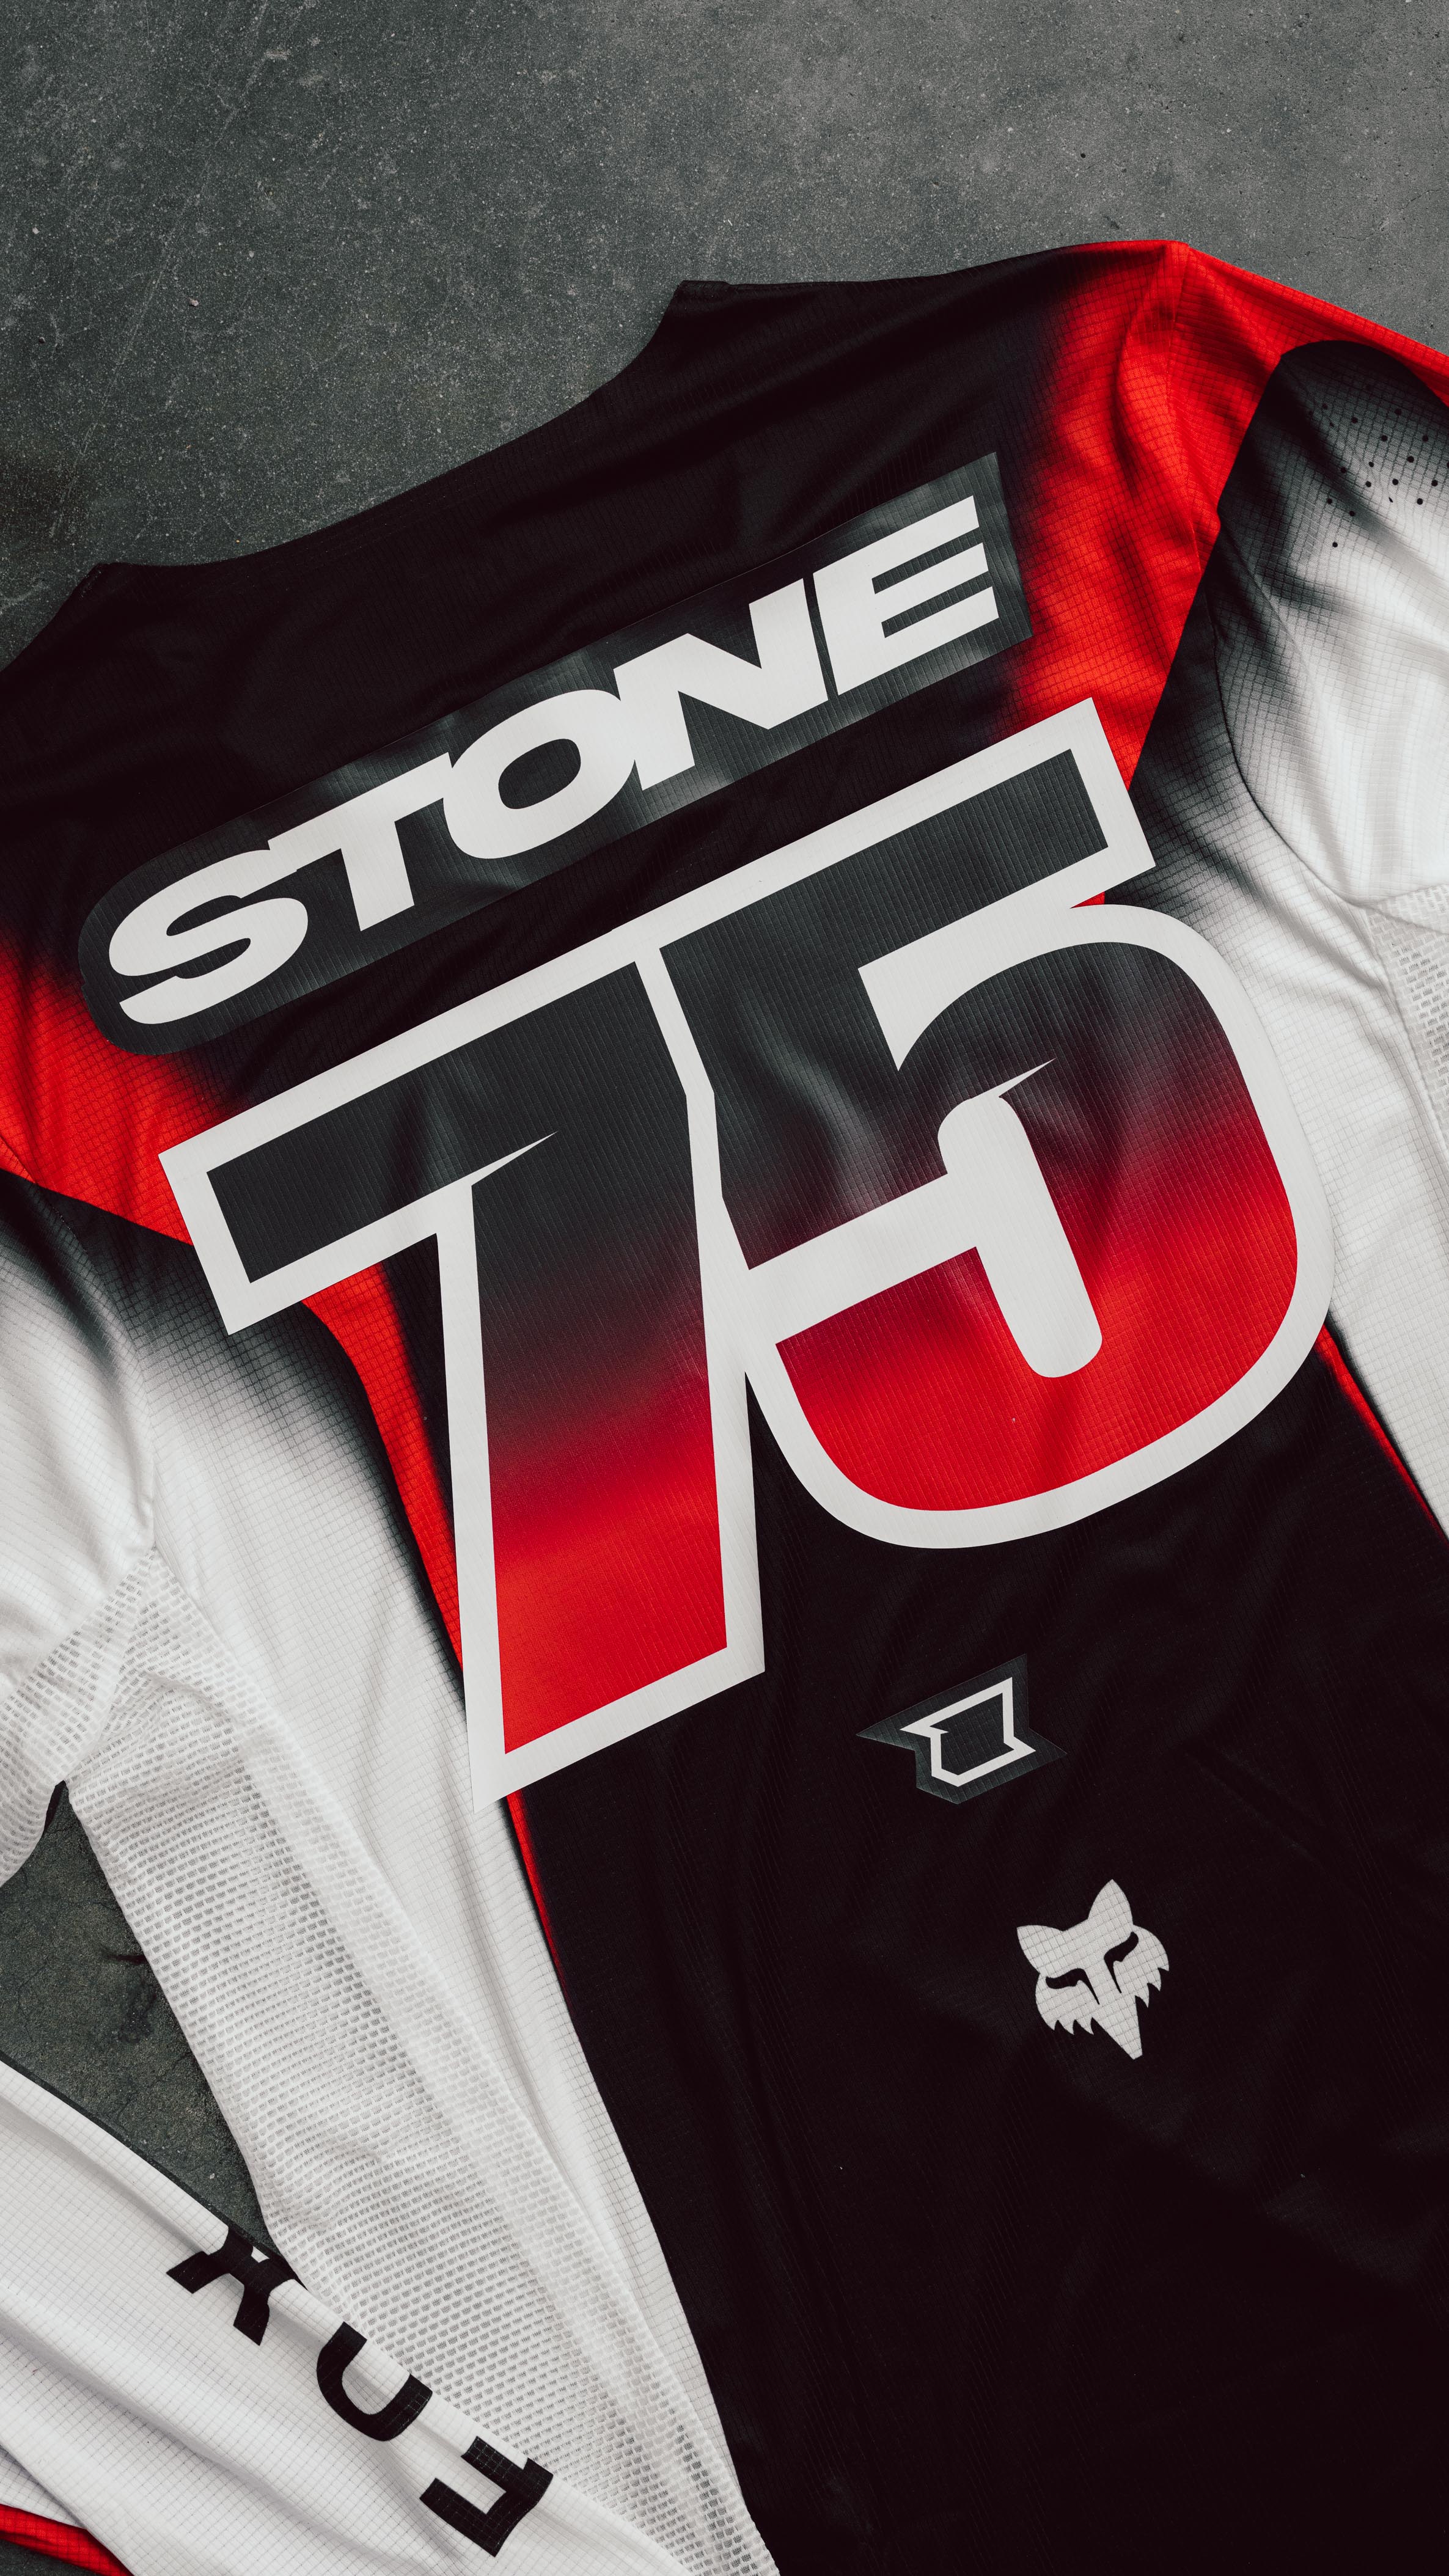
Jersey Print Install Guide
Rating of 1 means .
Rating of 4 means .
The rating of this product for "" is 1.

What you'll need:

- Heat press (recommended) or household iron (not ideal, but possible)

- Heat-resistant transfer sheet or baking paper

- Flat, clean surface

- Your jersey print (supplied by Westeffex)

Important Notes Before You Begin

- Jersey must be clean and dry - no dirt, sweat, or fabric softener residue.

- Best applied to 100% polyester MX jerseys.

- For best results, use a heat press. Ironing is not recommended for durability.

Jersey Print Install Guide
Rating of 1 means .
Rating of 4 means .
The rating of this product for "" is 2.

Warmth

Step 1: Position the Print

1. Lay your jersey flat on a heat-resistant surface.

2. Decide the placement (usually center-back or upper chest).

3. Place the print face-up, design side facing you, with the clear transfer film on top.

4. Cover with a heat-resistant sheet or baking paper.

Step 2: Apply Heat

Using a heat press (recommended):

- Temp: 150-160°C (300-320°F)

- Pressure: Medium-High

- Time: 10-15 seconds

Using a household iron (if necessary):

- Set to 'Polyester' or medium-high heat (NO steam)

- Apply firm pressure for 20-30 seconds, covering all areas evenly

- Avoid moving the iron around - press down firmly in sections

Jersey Print Install Guide
Rating of 1 means .
Rating of 4 means .
The rating of this product for "" is 3.

Step 3: Cool & Peel

- Allow the transfer to cool completely (cold peel method).

- Slowly peel the clear transfer film from one corner.

- If any part lifts, re-cover and press again for 5-10 seconds.

Aftercare

- Wait 24 hours before washing.

- Cold wash only - inside out.

- Do not tumble dry or iron directly over the print.

- Avoid fabric softeners and bleach.

Jersey Print Install Guide
Rating of 1 means .
Rating of 4 means .
The rating of this product for "" is 1.

What you'll need:

- Heat press (recommended) or household iron (not ideal, but possible)

- Heat-resistant transfer sheet or baking paper

- Flat, clean surface

- Your jersey print (supplied by Westeffex)

Important Notes Before You Begin

- Jersey must be clean and dry - no dirt, sweat, or fabric softener residue.

- Best applied to 100% polyester MX jerseys.

- For best results, use a heat press. Ironing is not recommended for durability.

Rating of 1 means .
Rating of 4 means .
The rating of this product for "" is 2.

Warmth

Step 1: Position the Print

1. Lay your jersey flat on a heat-resistant surface.

2. Decide the placement (usually center-back or upper chest).

3. Place the print face-up, design side facing you, with the clear transfer film on top.

4. Cover with a heat-resistant sheet or baking paper.

Step 2: Apply Heat

Using a heat press (recommended):

- Temp: 150-160°C (300-320°F)

- Pressure: Medium-High

- Time: 10-15 seconds

Using a household iron (if necessary):

- Set to 'Polyester' or medium-high heat (NO steam)

- Apply firm pressure for 20-30 seconds, covering all areas evenly

- Avoid moving the iron around - press down firmly in sections

Rating of 1 means .
Rating of 4 means .
The rating of this product for "" is 3.

Step 3: Cool & Peel

- Allow the transfer to cool completely (cold peel method).

- Slowly peel the clear transfer film from one corner.

- If any part lifts, re-cover and press again for 5-10 seconds.

Aftercare

- Wait 24 hours before washing.

- Cold wash only - inside out.

- Do not tumble dry or iron directly over the print.

- Avoid fabric softeners and bleach.