INSTALL GUIDE
Rating of 1 means .
Rating of 5 means .
The rating of this product for "" is 4.

What you’ll need:

  • Heat gun or hairdryer
  • Squeegee or credit card (wrapped in a soft cloth)
  • Isopropyl alcohol or plastic-safe degreaser
  • Clean microfiber cloth
  • Patience and steady hands!


INSTALL GUIDE
Rating of 1 means .
Rating of 5 means .
The rating of this product for "" is 2.

Step 1: Prep Your Plastics

  1. Clean thoroughly – Wash plastics with soap and water to remove dirt, grease, and oil.
  2. Degrease – Use isopropyl alcohol or plastic-safe degreaser to remove any residue.
  3. Dry completely – Make sure the surface is 100% dry and lint-free before starting.
Re-Prints - Westeffex
INSTALL GUIDE
Rating of 1 means .
Rating of 5 means .
The rating of this product for "" is 3.

Step 2: Position Your Graphics

  1. Peel and position – Carefully peel off a small section of the backing paper and align the graphic on the panel.
  2. Tack lightly – Press down a small section to hold it in place, but don’t apply full pressure yet.
  3. Align bolt holes – Align bolt holes or a square edge and procced to apply graphic from centre out.
INSTALL GUIDE
Rating of 1 means .
Rating of 5 means .
The rating of this product for "" is 4.

Step 3: Fit

  1. Use a heat gun/hairdryer – Gently warm the graphic (not too hot!) to make it more flexible.
  2. Press and smooth – Work from the centre outward using a squeegee to avoid bubbles and wrinkles.
  3. Take your time – Use heat and pressure gradually across curves and edges for best adhesion.
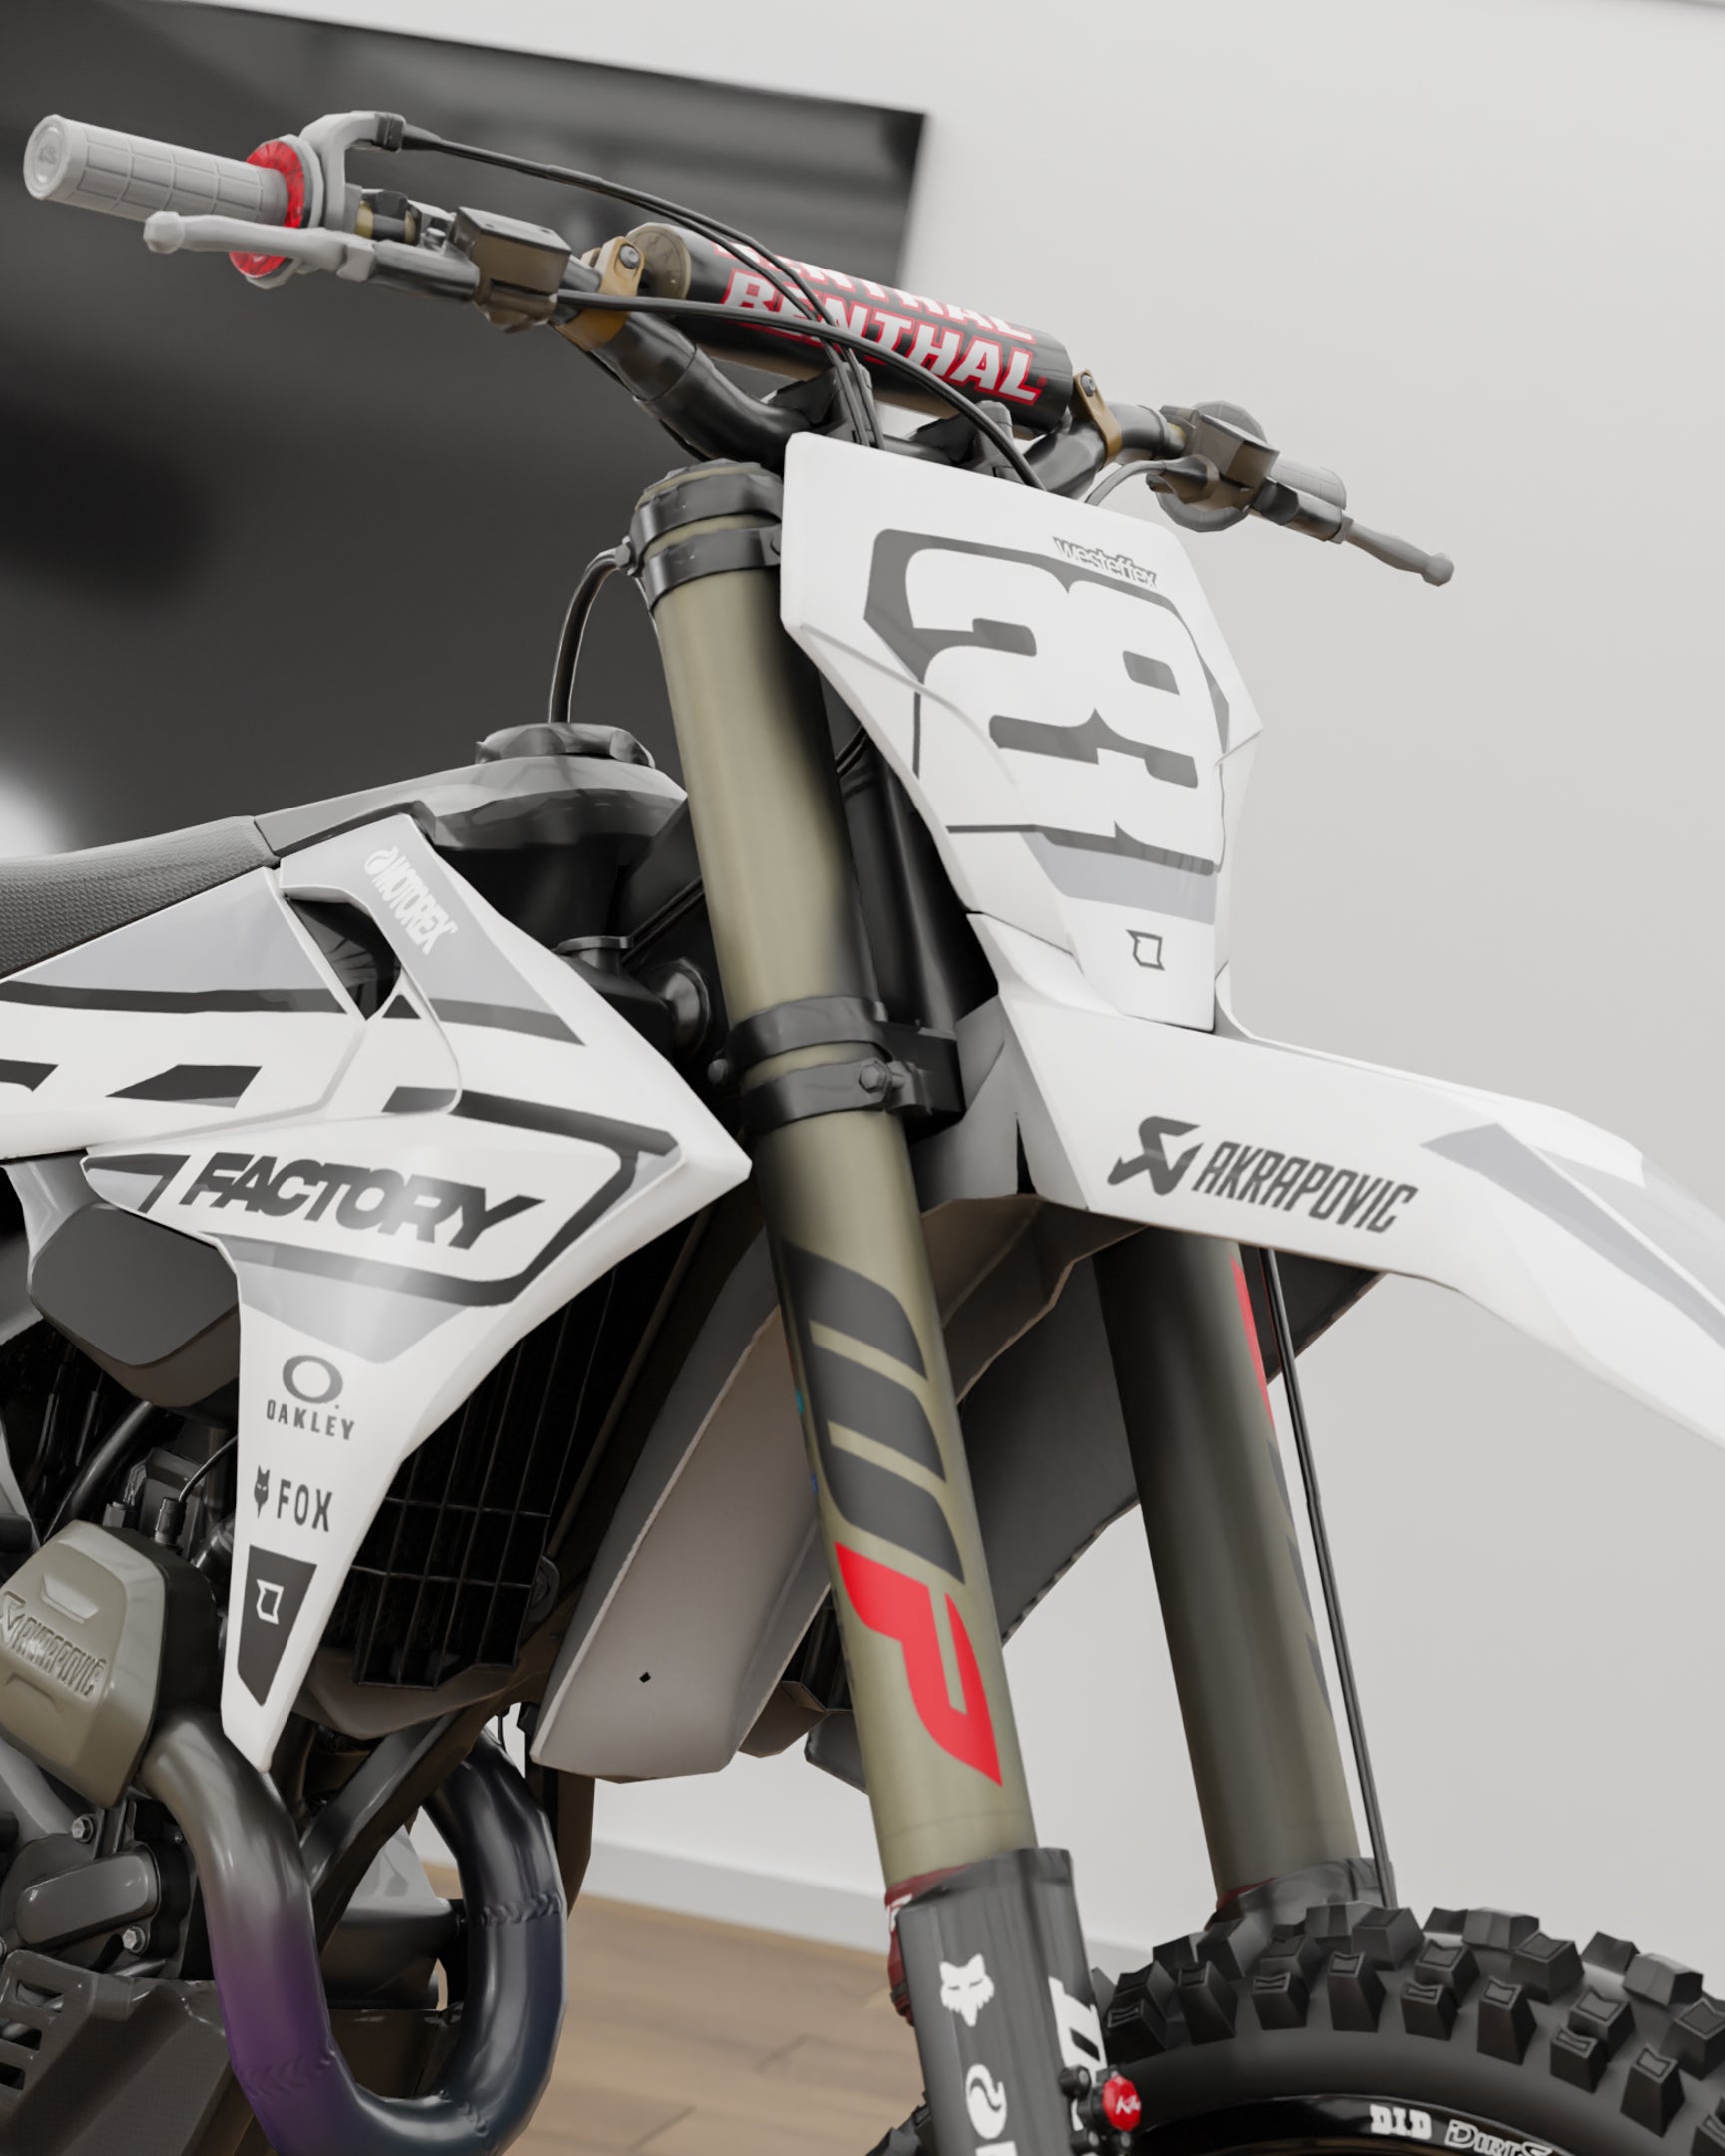
GASGAS LIMIT - WHITE - Westeffex
INSTALL GUIDE
Rating of 1 means .
Rating of 5 means .
The rating of this product for "" is 4.

Step 4: Final Touches

  1. Use a heat gun/hairdryer – Gently warm the graphic (not too hot!) to make it more flexible.
  2. Press and smooth – Work from the centre outward using a squeegee to avoid bubbles and wrinkles.
  3. Take your time – Use heat and pressure gradually across curves and edges for best adhesion.
INSTALL GUIDE
Rating of 1 means .
Rating of 5 means .
The rating of this product for "" is 4.

What you’ll need:

  • Heat gun or hairdryer
  • Squeegee or credit card (wrapped in a soft cloth)
  • Isopropyl alcohol or plastic-safe degreaser
  • Clean microfiber cloth
  • Patience and steady hands!


Rating of 1 means .
Rating of 5 means .
The rating of this product for "" is 2.

Step 1: Prep Your Plastics

  1. Clean thoroughly – Wash plastics with soap and water to remove dirt, grease, and oil.
  2. Degrease – Use isopropyl alcohol or plastic-safe degreaser to remove any residue.
  3. Dry completely – Make sure the surface is 100% dry and lint-free before starting.
Rating of 1 means .
Rating of 5 means .
The rating of this product for "" is 3.

Step 2: Position Your Graphics

  1. Peel and position – Carefully peel off a small section of the backing paper and align the graphic on the panel.
  2. Tack lightly – Press down a small section to hold it in place, but don’t apply full pressure yet.
  3. Align bolt holes – Align bolt holes or a square edge and procced to apply graphic from centre out.
Rating of 1 means .
Rating of 5 means .
The rating of this product for "" is 4.

Step 3: Fit

  1. Use a heat gun/hairdryer – Gently warm the graphic (not too hot!) to make it more flexible.
  2. Press and smooth – Work from the centre outward using a squeegee to avoid bubbles and wrinkles.
  3. Take your time – Use heat and pressure gradually across curves and edges for best adhesion.
Rating of 1 means .
Rating of 5 means .
The rating of this product for "" is 4.

Step 4: Final Touches

  1. Use a heat gun/hairdryer – Gently warm the graphic (not too hot!) to make it more flexible.
  2. Press and smooth – Work from the centre outward using a squeegee to avoid bubbles and wrinkles.
  3. Take your time – Use heat and pressure gradually across curves and edges for best adhesion.

Get in touch

Have questions about your order, or a general enquiry?